Pavers are 20% of the work and 80% of the bill. The other 80% of the work is everything you'll never see again once we're done — the gravel, the bedding sand, the compaction, the drainage. That hidden layer is what decides whether your patio is still flat in 2046 or wavy by 2030.
Here's what's actually under a properly built patio in LA, layer by layer, from the bottom up.
Layer 1: Subgrade
This is the native soil. In LA County we've got everything from sandy loam in the Westside to the expansive clay in the Valley to decomposed granite in the foothills. The subgrade has to be excavated to the right depth, scarified, and compacted to 95% of its maximum density. If it's expansive clay (a real problem in places like Studio City and parts of Pasadena) we'll over-excavate and replace the top 6 inches with import.
Mistake we see all the time: contractors skip the proctor density check entirely. They eyeball it.
Layer 2: Geotextile fabric (sometimes)
If the subgrade is wet, organic, or really fine clay, we put down a non-woven geotextile separation fabric (Mirafi 140N or equivalent) before any base material. It keeps the base from migrating down into the subgrade over time and pumping silt up. On most LA jobs we don't need it — but on hillside lots with seeping subsurface water, it's the difference between a patio and a settlement claim.
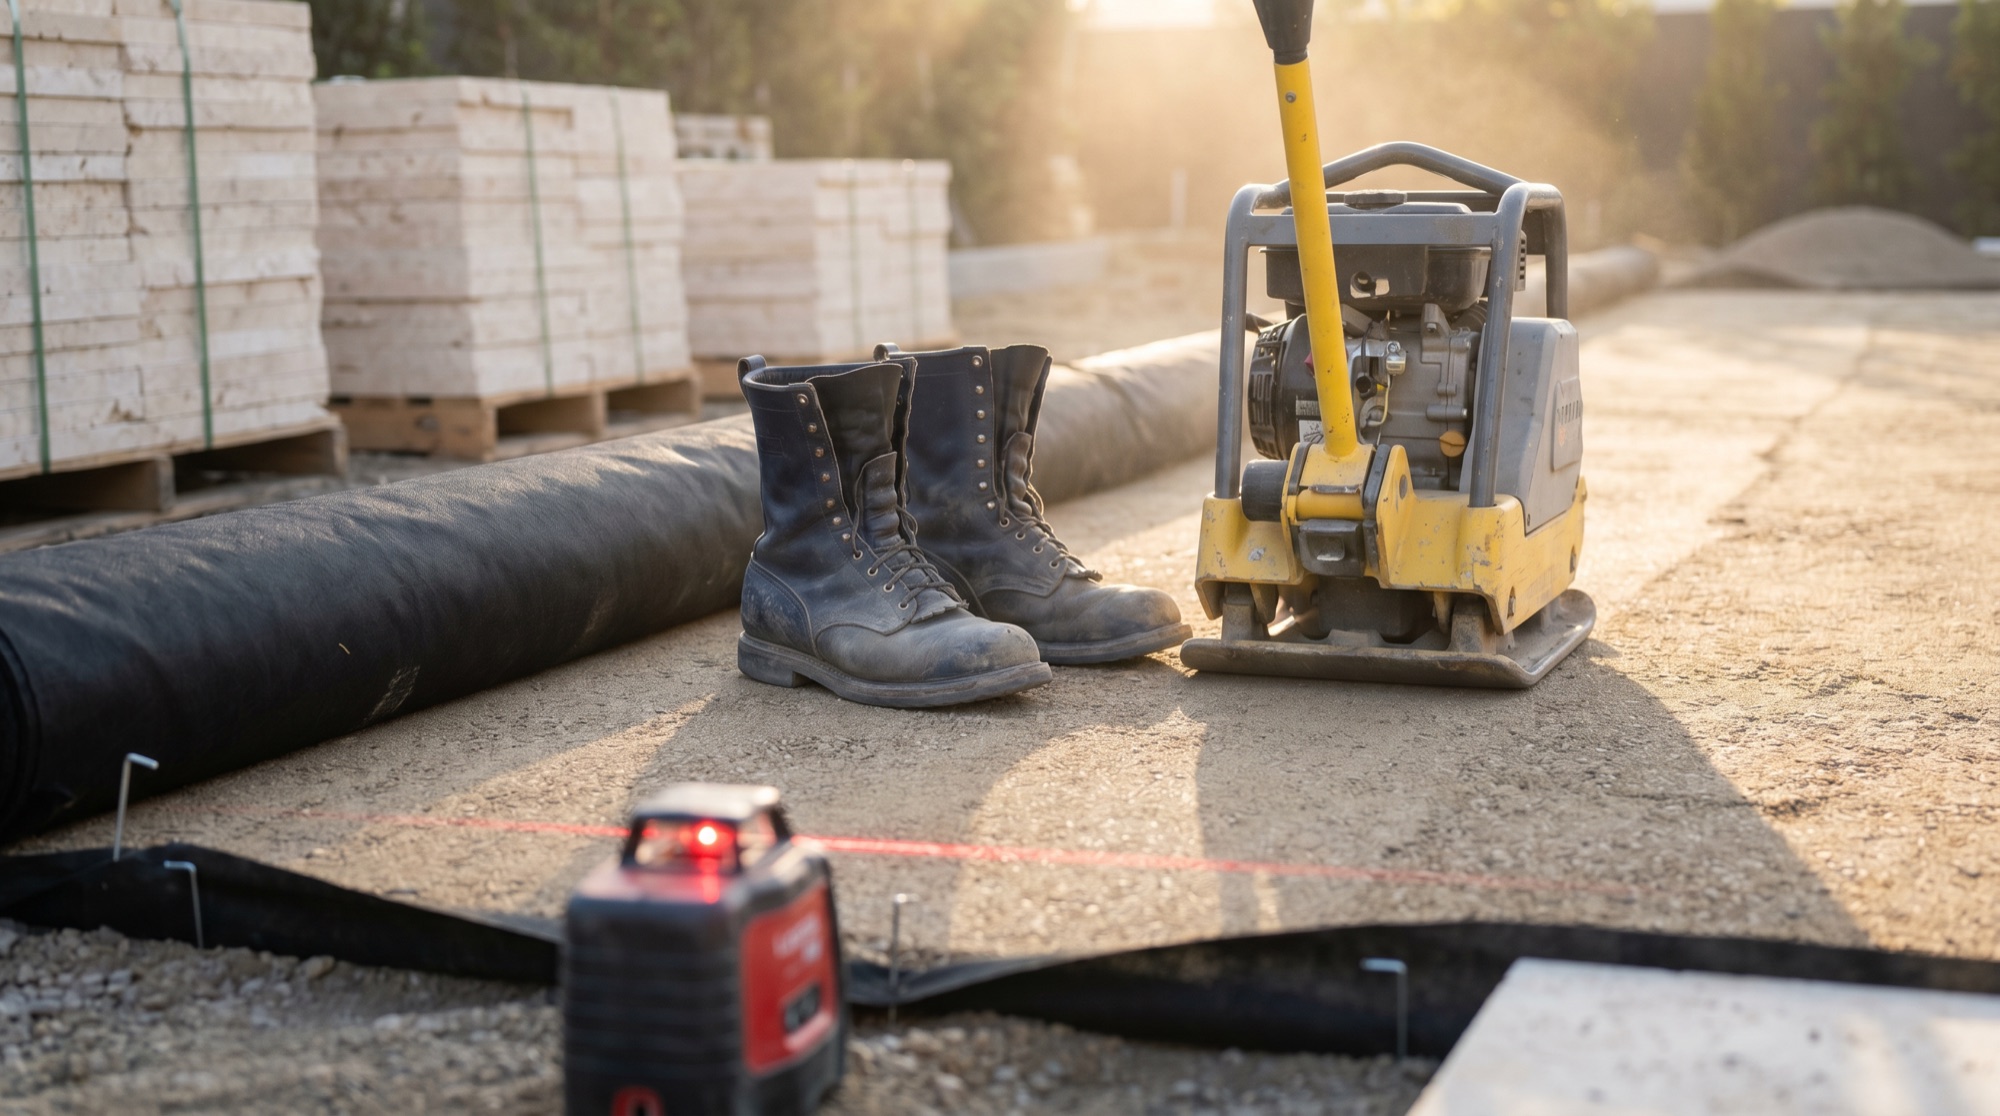
Layer 3: Class II road base
This is the structural layer. Our spec:
- Material: Caltrans Class II aggregate base, ¾-inch minus, well-graded
- Depth: 6 inches compacted for pedestrian patios, 8 to 10 inches for driveways and pool decks
- Compaction: 4-inch lifts, 95% modified Proctor, 3,000 lb plate compactor minimum
- Moisture: Each lift gets misted to optimum moisture before compacting — too dry and it won't lock; too wet and it pumps
You compact in lifts. That word matters. A "lift" is a 3-to-4-inch layer of base, compacted, before you add the next 3-to-4-inch layer. Trying to compact a single 8-inch dump in one pass doesn't work — only the top 3 inches actually densify, and the rest stays loose. That's how you get patios that ripple in five years.
If a contractor's quote doesn't tell you the depth and number of lifts, you're not getting a base. You're getting a layer of gravel.
Layer 4: Bedding sand
One inch of clean concrete sand (ASTM C33), screeded perfectly flat with screed bars and a long aluminum straightedge. Not stone dust. Not mason sand. Concrete sand has the right gradation to lock the pavers without acting as a sponge.
The bedding layer is one inch. Always one inch. Contractors who use 2 or 3 inches of sand to "make up" for a poorly graded base are creating a future settlement problem — bedding sand isn't a structural material, and it migrates under load.
Layer 5: The pavers
Now we lay stone. Pattern lines snapped, soldier course set first as a screed reference, field pavers laid into the bedding. We cut to the field as we go using a wet saw with a diamond blade, never a chop saw.
Layer 6: Edge restraints
This is the layer 95% of bad installs skip. Every paver field needs a continuous edge restraint — either a poured concrete toe (our preferred method for permanence) or aluminum/steel landscape edging spiked to grade. Without it, the perimeter pavers walk outward over years of foot traffic and rain, and the whole field starts unspooling from the edges in.
Layer 7: Polymeric joint sand
Polymeric sand (Techniseal or Alliance) swept into the joints, blown clean off the surface, and activated with a fine mist. The polymers cure into a flexible joint that locks the pavers, prevents weeds, and resists ant tunneling. It's not regular sand. Regular sand washes out in the first heavy LA rain.
Drainage: the layer that's everywhere
Good base prep is also drainage prep. Every patio we install gets a minimum 1.5% fall away from the house — that's roughly 3/16 of an inch per foot. Pool decks get 2%. If we're laying pavers in a low spot or against a structure, we'll trench in a French drain or channel drain before any base goes down.
Water sitting under a patio is the second-fastest way to kill it (after skipped compaction). It saturates the base, the base fines wash out, and the pavers settle in spots — usually right where you set the table.
What this all costs
A proper base for a 400 sq ft patio in LA — excavation, fabric (if needed), 6 inches of compacted Class II in lifts, sand, drainage — runs around $2,400 to $3,600. Cutting it down to a 3-inch base of unknown gradation might save $1,500 upfront. It will cost $8,000 to redo in seven years.
How to tell if you got a real base
You won't, after the fact — it's all underground. So ask before:
- Get the base depth and the number of lifts in writing
- Ask what compactor weight they use (3,000 lb plate is the floor for driveways)
- Ask what kind of edge restraint and where it is
- Ask for photos during the build — every reputable installer will send you base photos before paving
The pretty stone is the part you'll show your neighbors. The base is the part you'll thank yourself for in 2046.